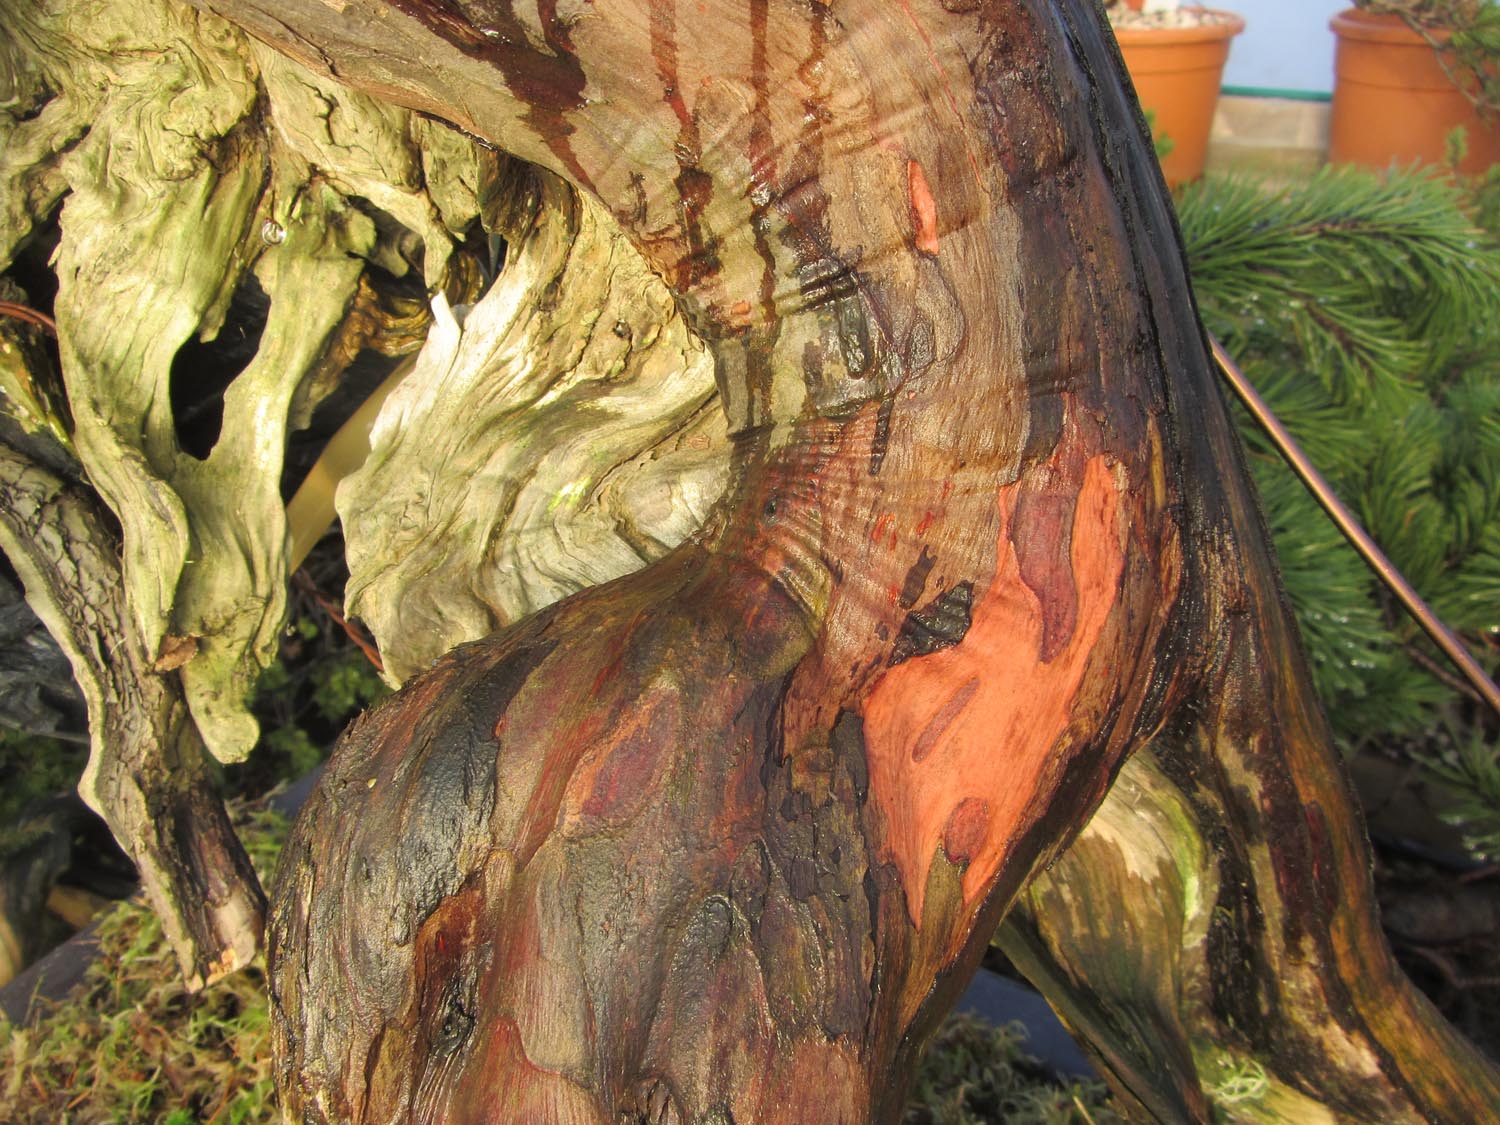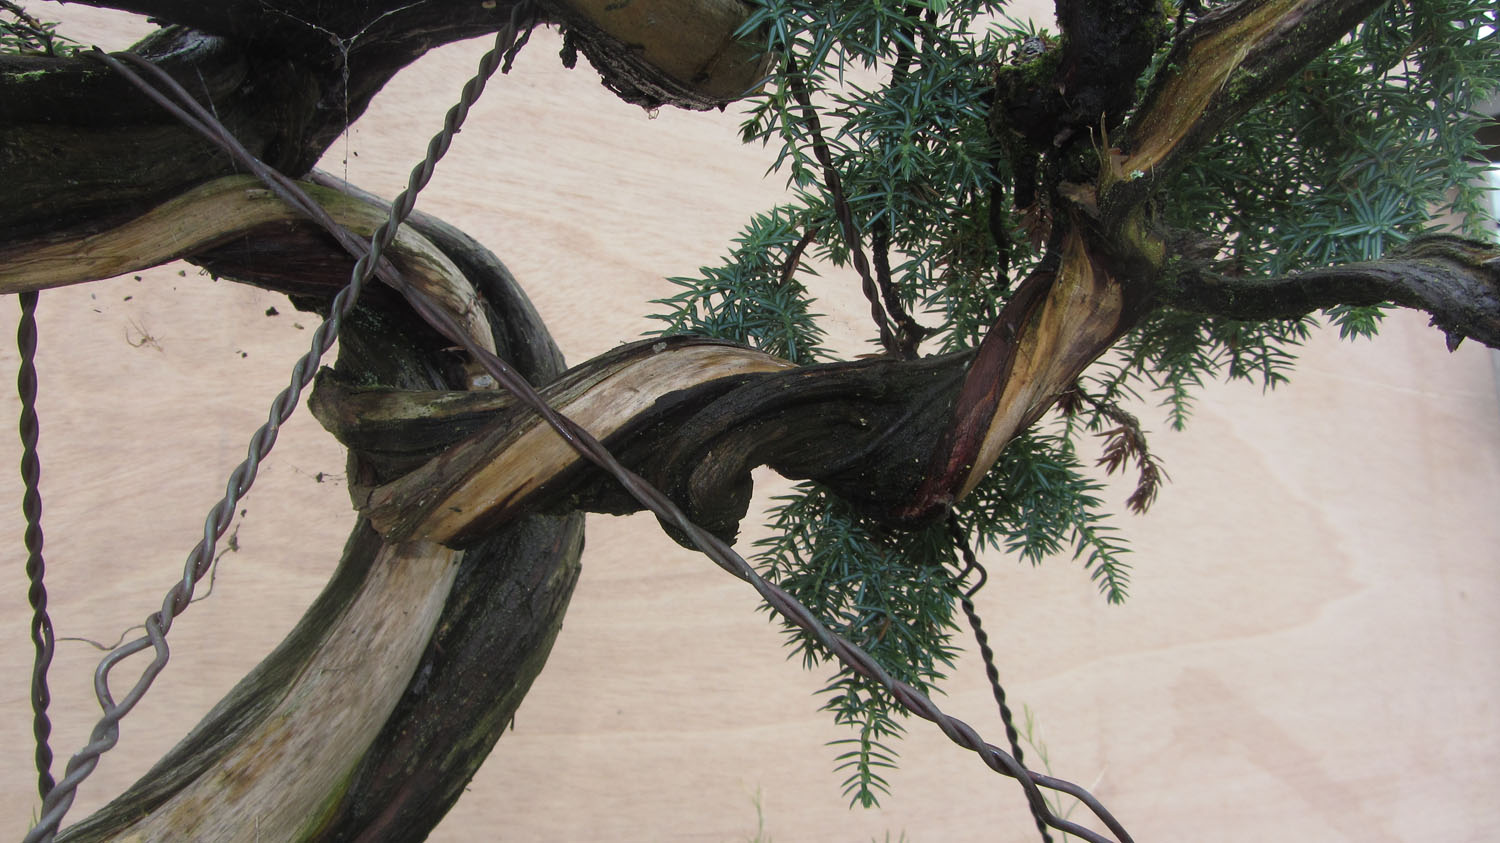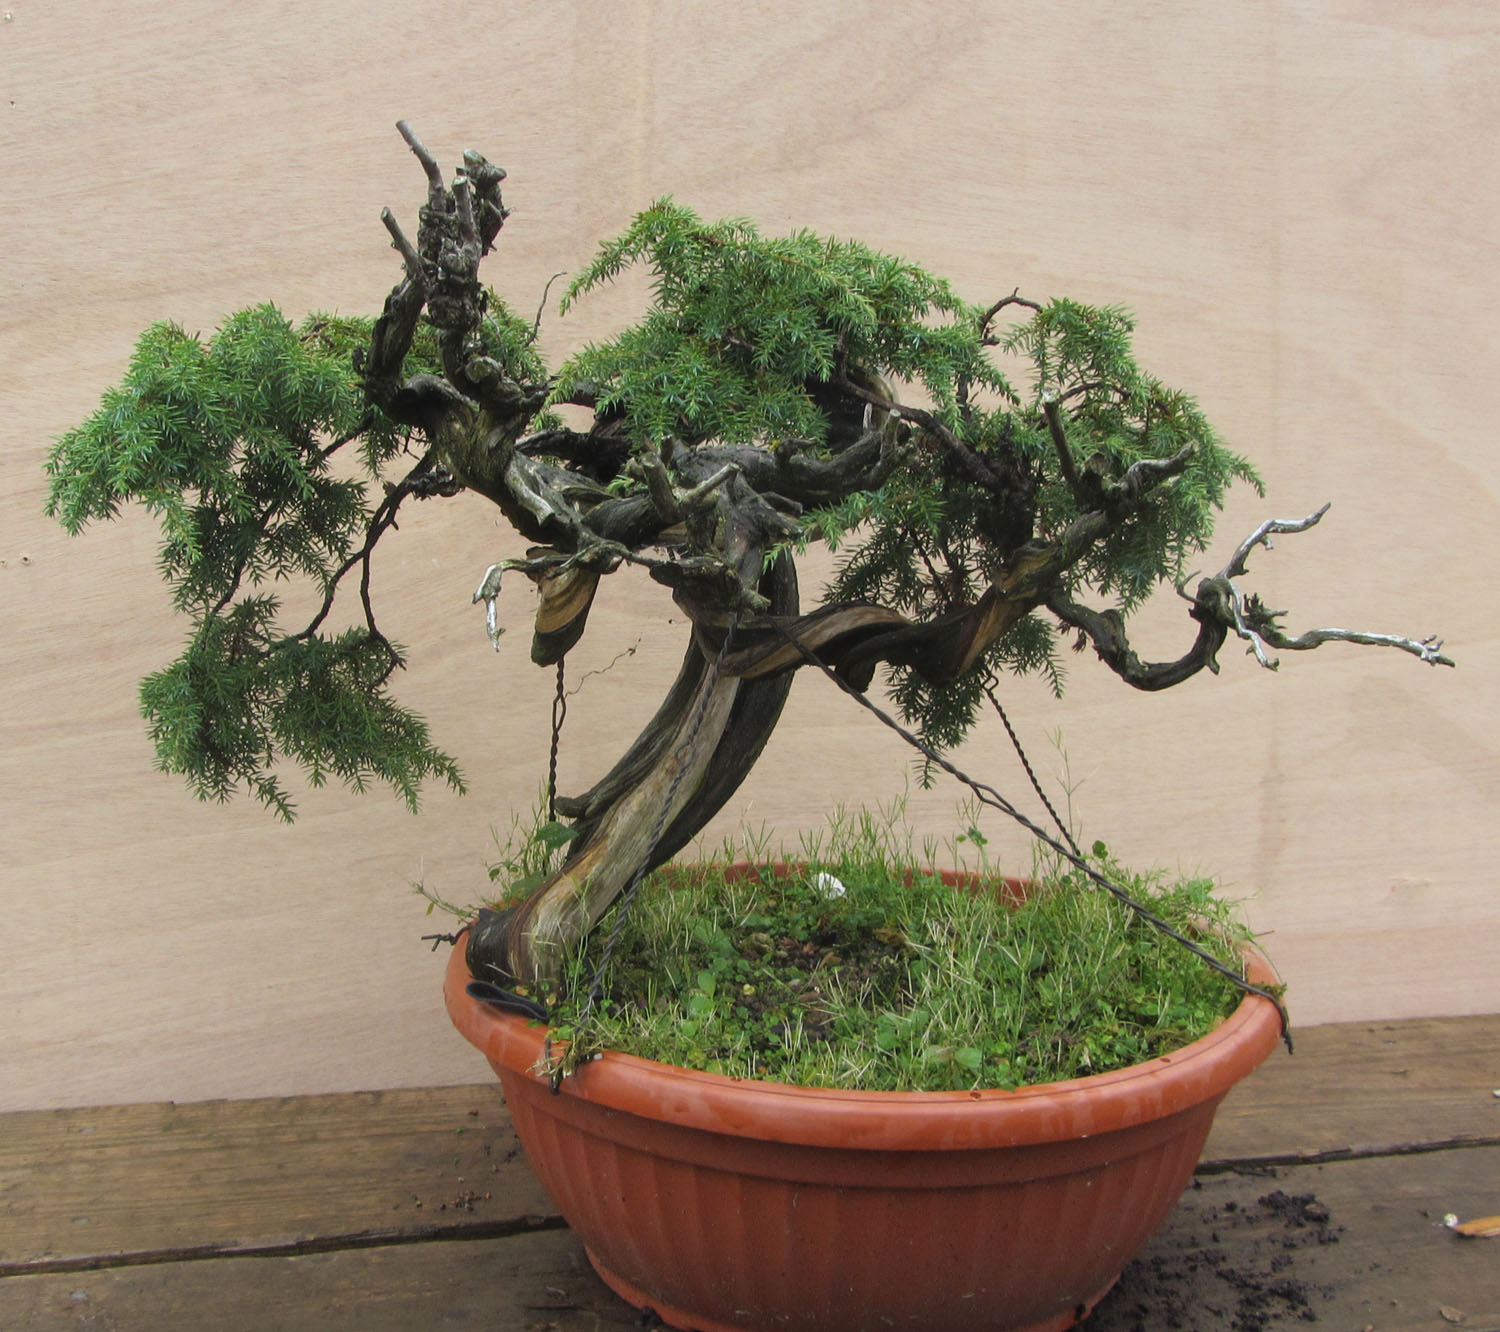
 I collected this Yamadori Yew in 2011, the tree was very slow to establish in the first couple of years, this is due to the cambium layer being very thin because the hard growing conditions that the tree suffered. In the third year the tree thrives and this year the growth has been very strong. With very old trees such as this it’s important that you wait for the growth of the foliage to be robust and vigorous for the future development of the tree, start work too early and you could set back development or worse kill the tree!
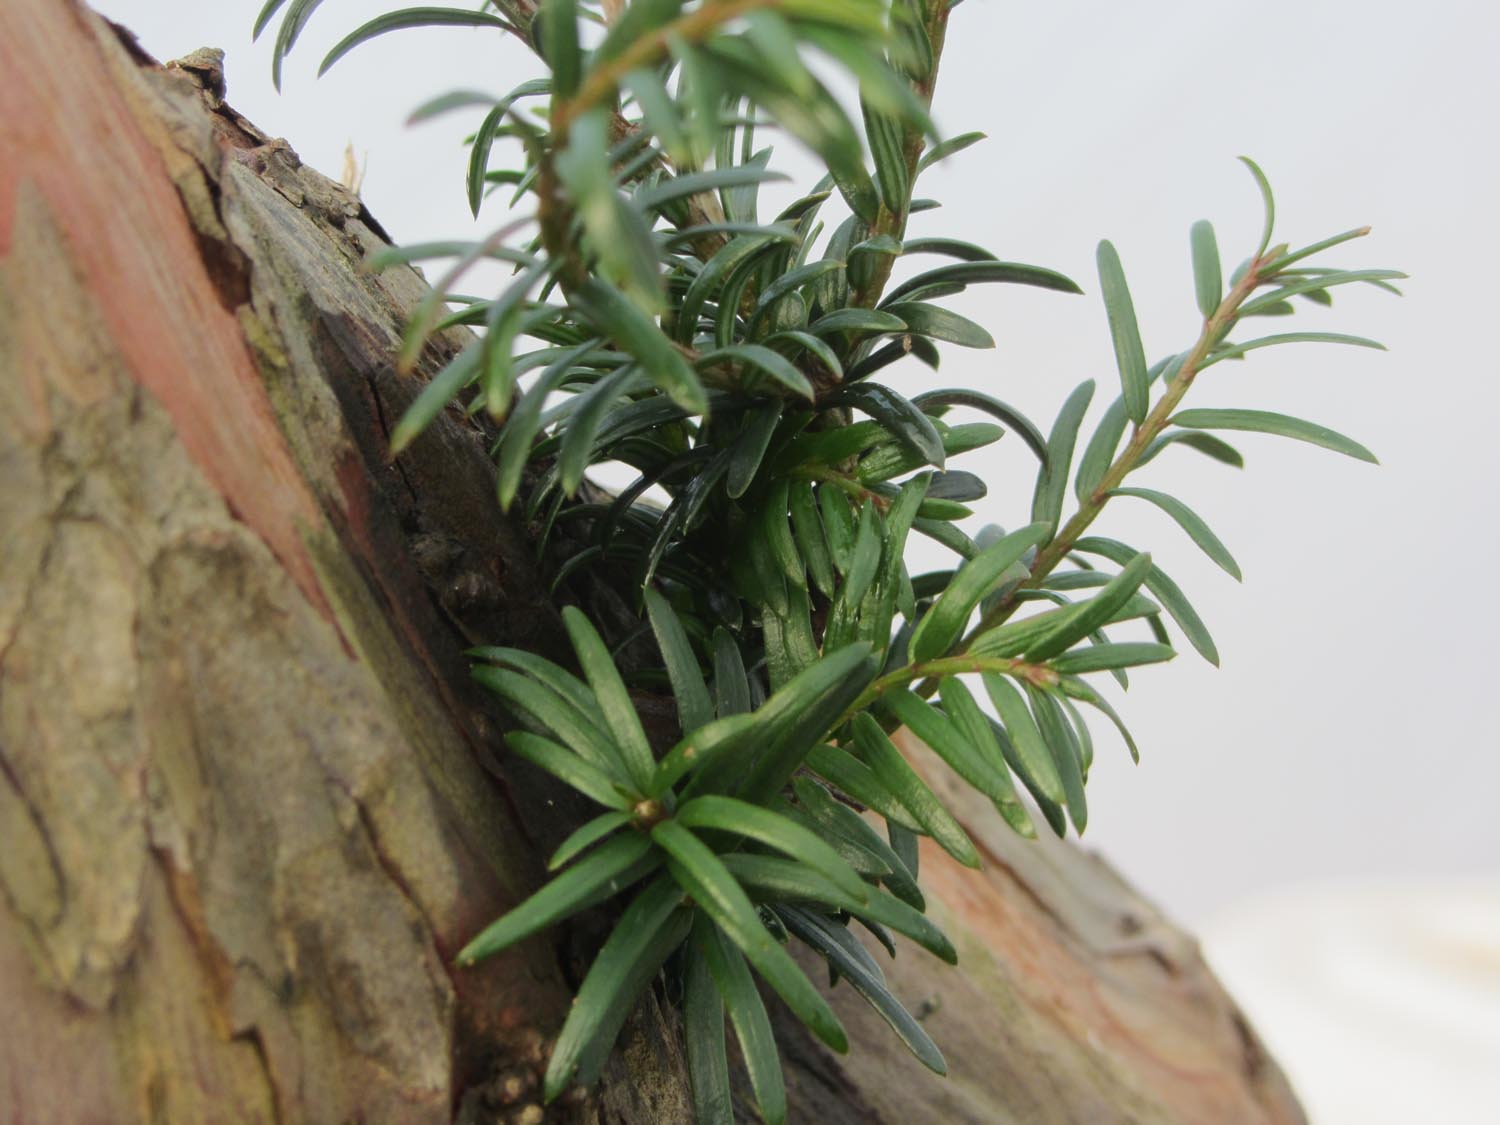
The work undertaken this week was to remove the thick upright deadwood branches, clear the smaller dead branches near the base of the tree and reposition the whole into the ‘final’ planting position. The tree will be left for a couple of years to extend and fill out the foliage mass. I will then work on the deadwood and finally sand blast to clean and smooth out some of the rough areas. Then the first styling will take place, another year in the box and finally planting into a training pot. The foliage mass will take at least 10 years to achieve the virtual image… but I can wait if the end result will look something like this.


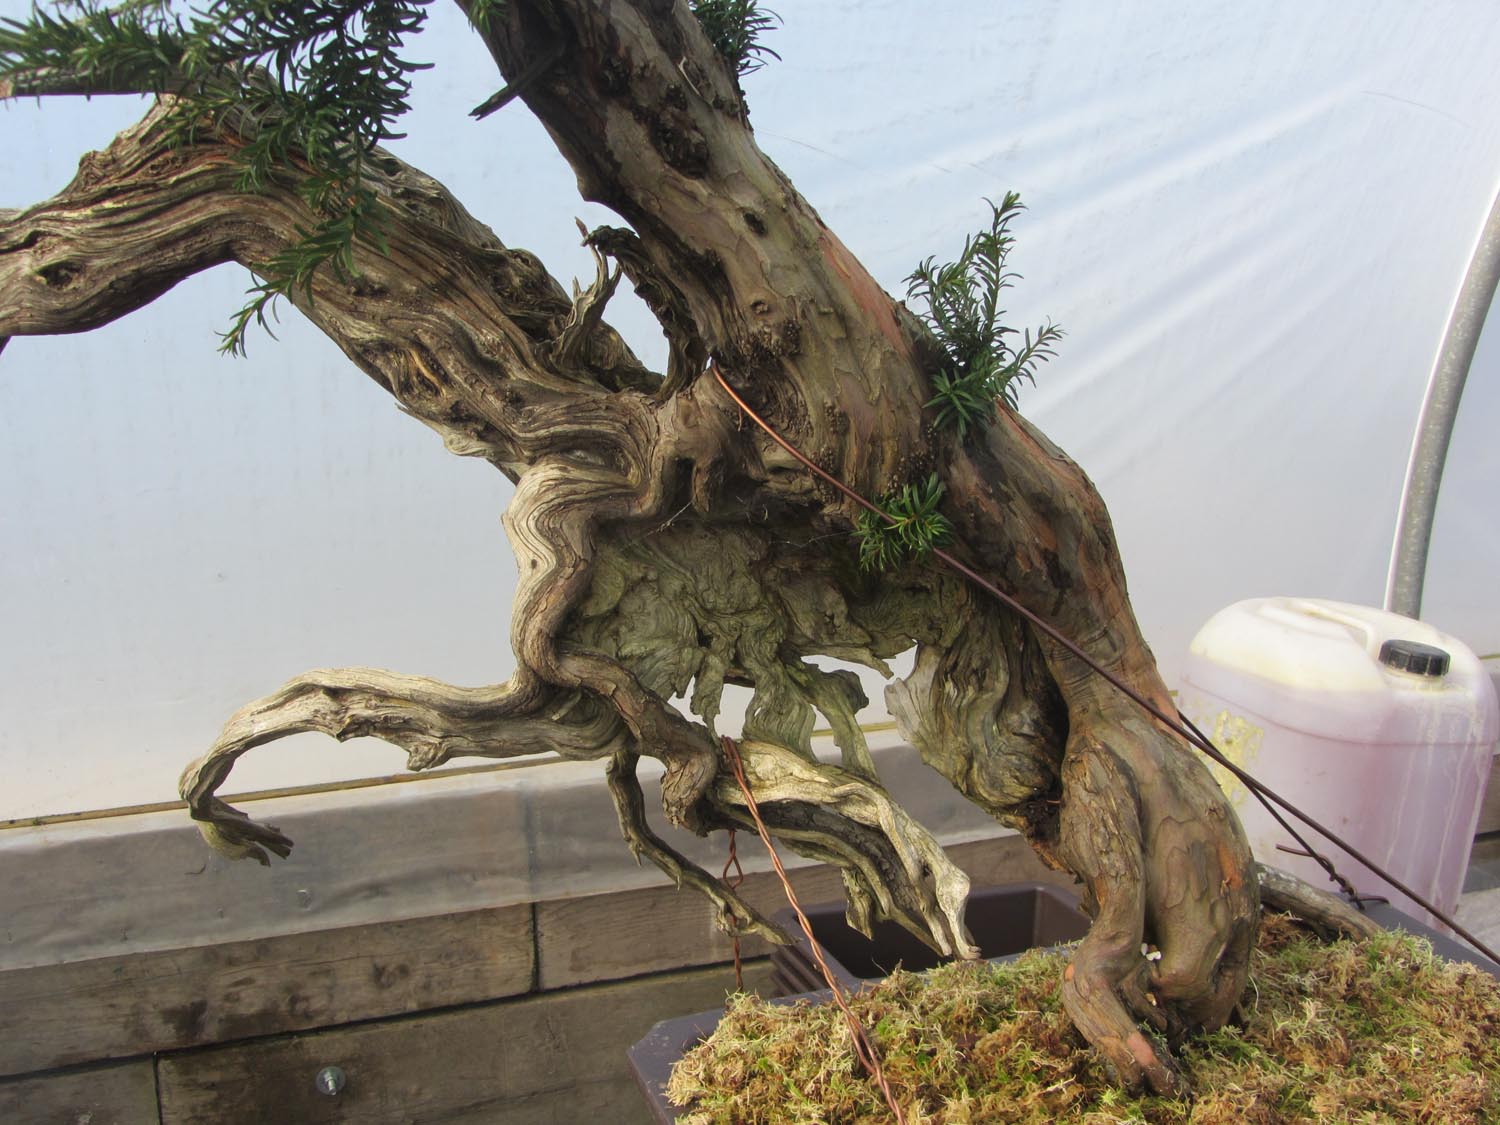
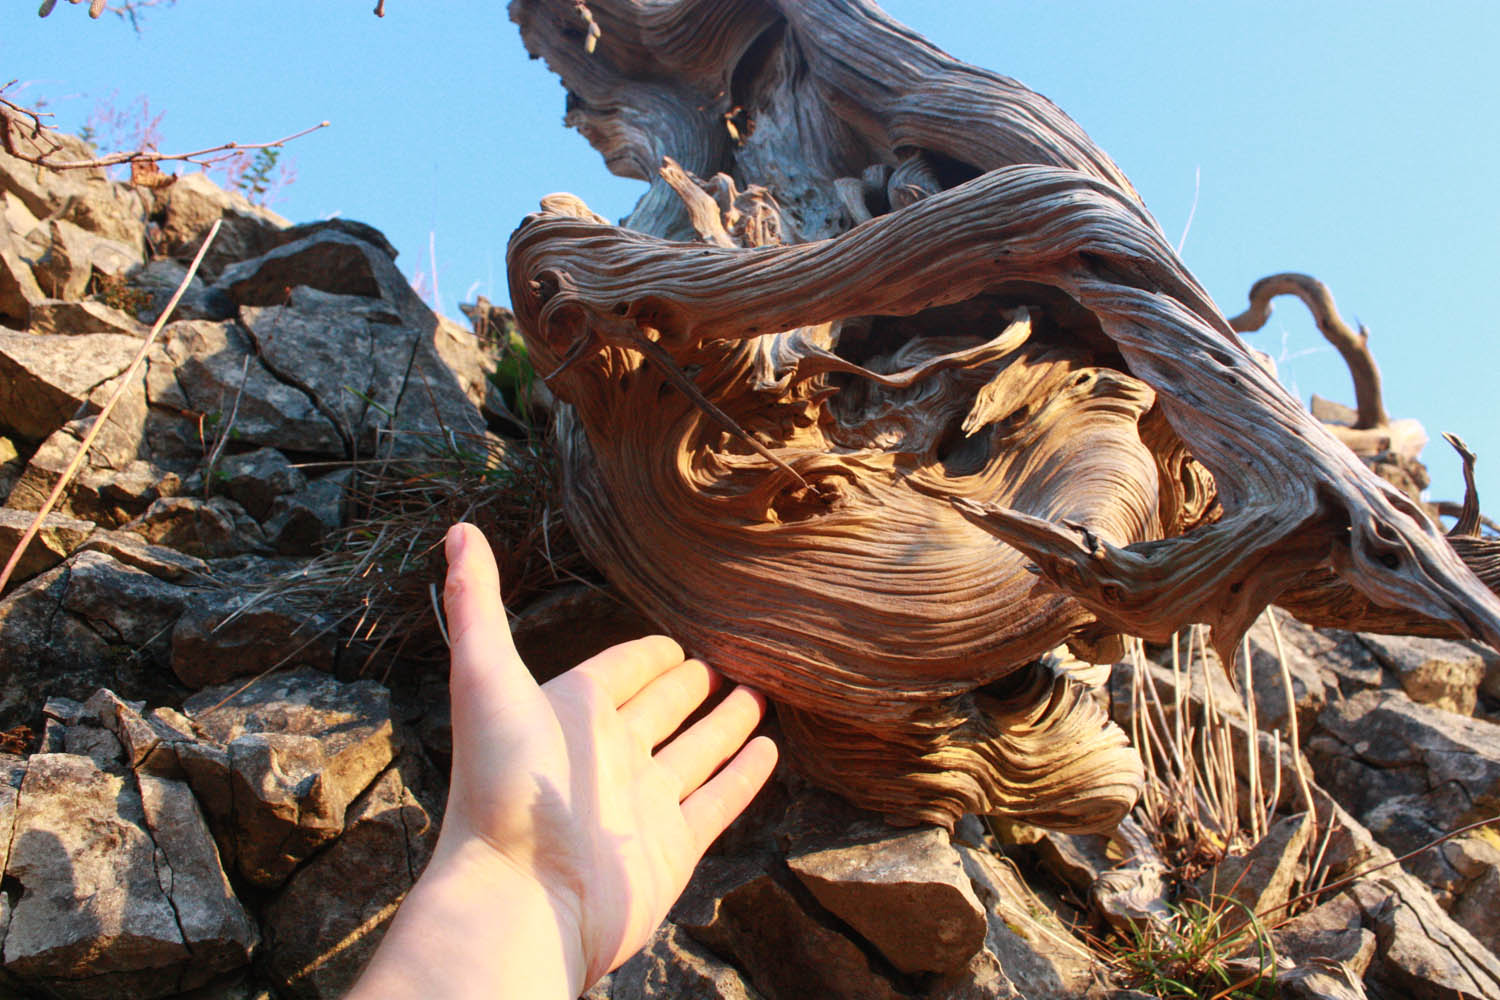
 This is a very old Yew collected in 2010, it is a tree that I visited on the hill many times before the tree was collected, and one that I took students to as an example of a ‘real’ yamadori in the wild. It was never my intention to collect this tree, as it was very long, it was growing directly in a rock crevice on a cliff face with no foliage close to the base of the tree.
 There was only one course of action, ‘Save the tree’ and this took place the next day. Four friends, two on ropes and one helping with passing tools etc. helped me. The tree came away in less than ten minutes as 95% of it was hanging in mid air… But with little root as most had snapped off in the winter storms, what you see in the photo are dead roots that have been exposed to the weather for many months, you can see where the large rocks have fallen away.