This is an article I first posted on IBC in 2010, worth a look. The tree is no longer in my personal collection.
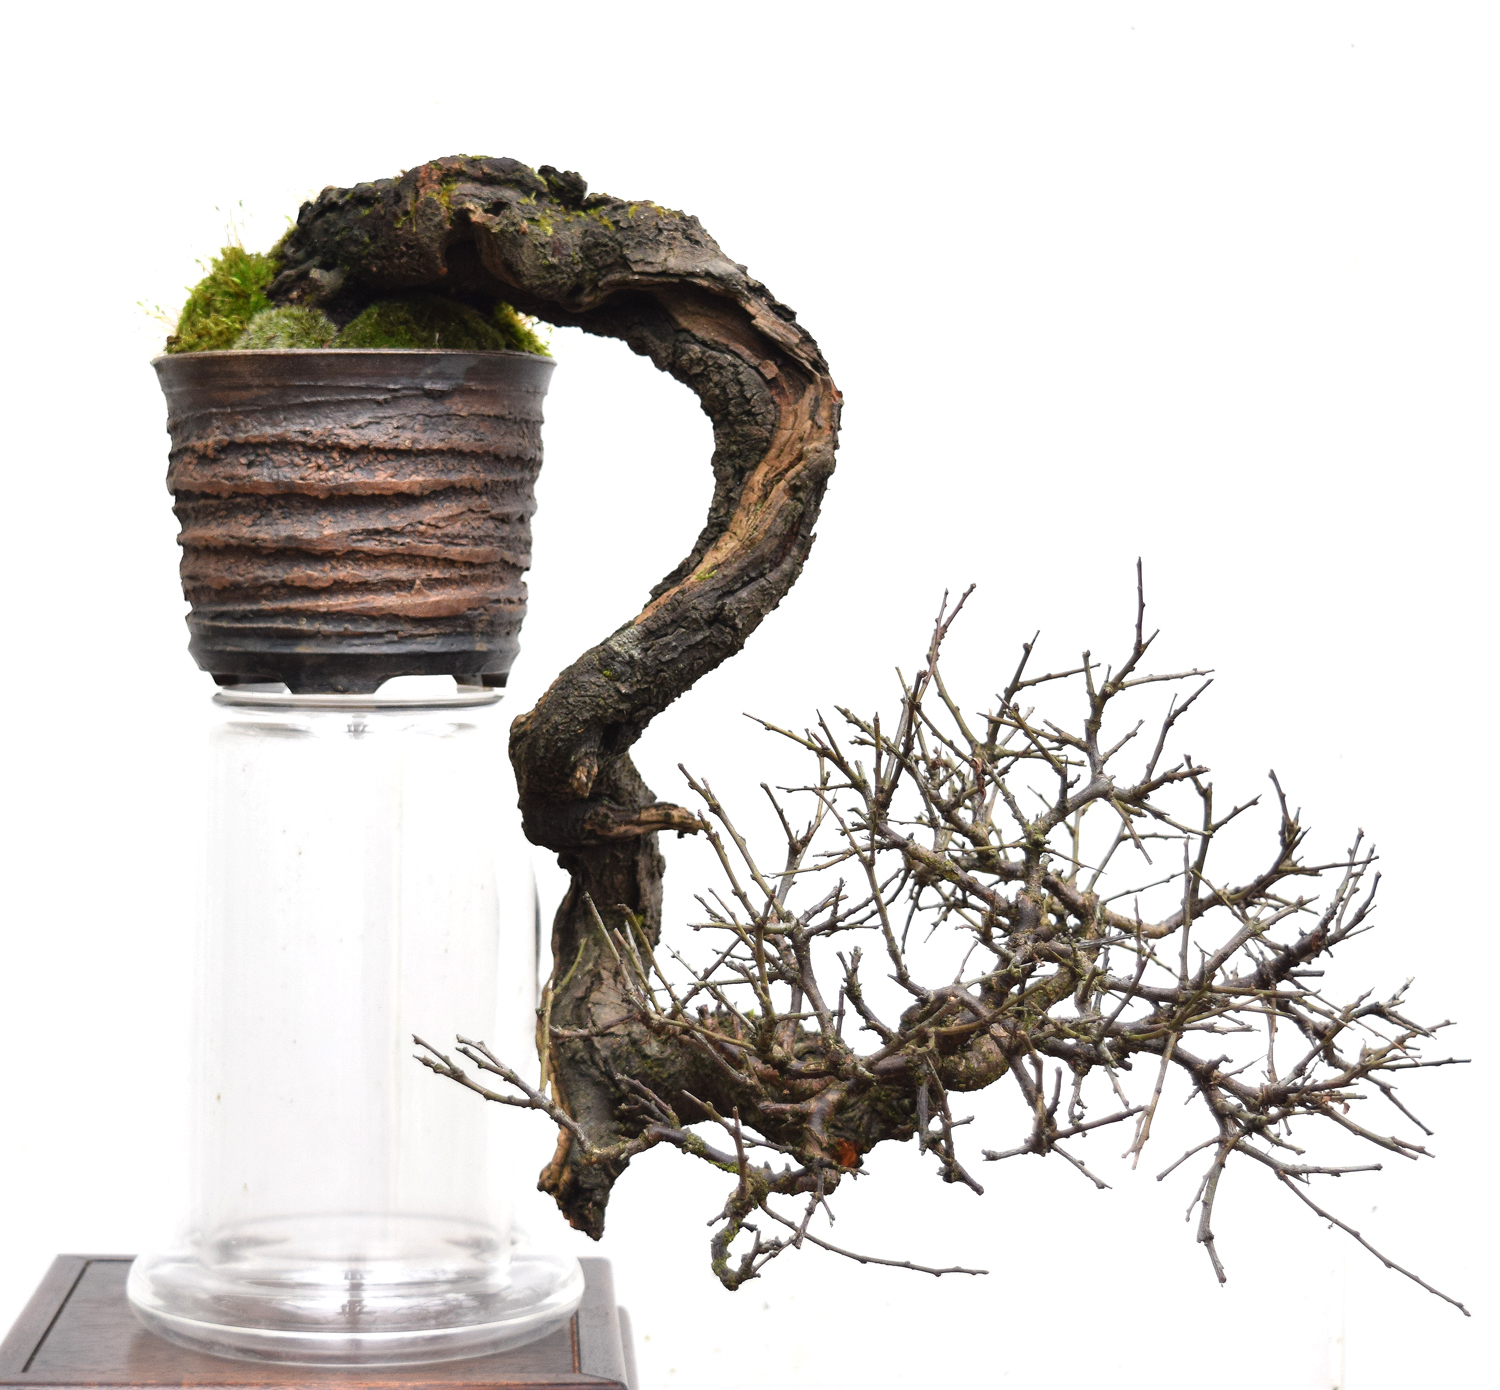
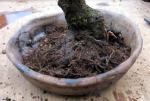
This is a Prunus Spinosa that I collected on my 50th Birthday… it’s called ‘Fifty’ and it has been in this pot for 2 years. This Beautiful Duffett pot was fine to ‘bring on’ the tree but not a good choice as it is way to ‘chunky’.
-

- The original Duffett pot
-

- The original Duffett pot
-
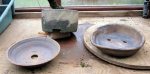
- Here are the pots I have for this tree… on the left is Milan Klika and the right is Brian Albright, both would fit the tree well.
-

- I chose the Albright because of the ‘free form’ of the pot suited the movement of the tree.
-
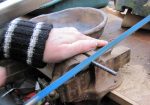
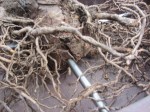
- In preparing to pot this tree it would need to be stable, the root pad is not dense enough to simply wire into place and hold the tree in the pot so a little assistance in the form of a steel rod is inserted into the base of the trunk (under the soil line)
-

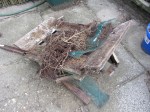
- getting ready to take the tree out of the pot
-
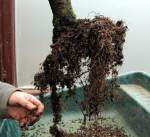
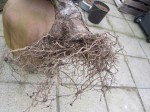
- There is an abundance of new root, none will be cut back as there is enough room in the new pot.
-

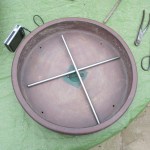
- A hole is drilled to accommodate the rod
-
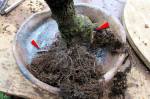
- Here the rod is inserted and placed in the pot to ensure that the position is correct, the arrows show where the rod enters and exits
-

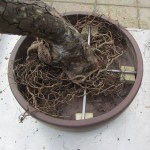
- 3mm Copper wire is used to secure the tree to the pot.
-

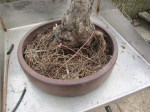
- The soil mix of Acadama, Alpine grit and Orchid bark is added
-

- Tying in the tree using the rod and the copper wire. the fix is very solid
-
- And here is how the tree fits into this fantastic Brian Albright pot.
-
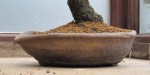
- The soil level is good
-
- All told it took about an hour to do this tree, It would have been 10 times harder had my buddy not been there
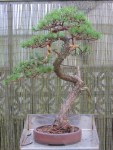
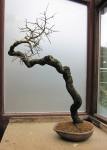
How the tree looks today