From the moment that this Yamadori Yew (Taxus Baccata) was collected from the wild it had the promise that one day it would be a great little bonsai. It had such a lovely movement throughout the whole of the tree, all it need to have was more compact foliage and a strong root system. I estimated that it would take six years to be presentable… it as taken twelve years.
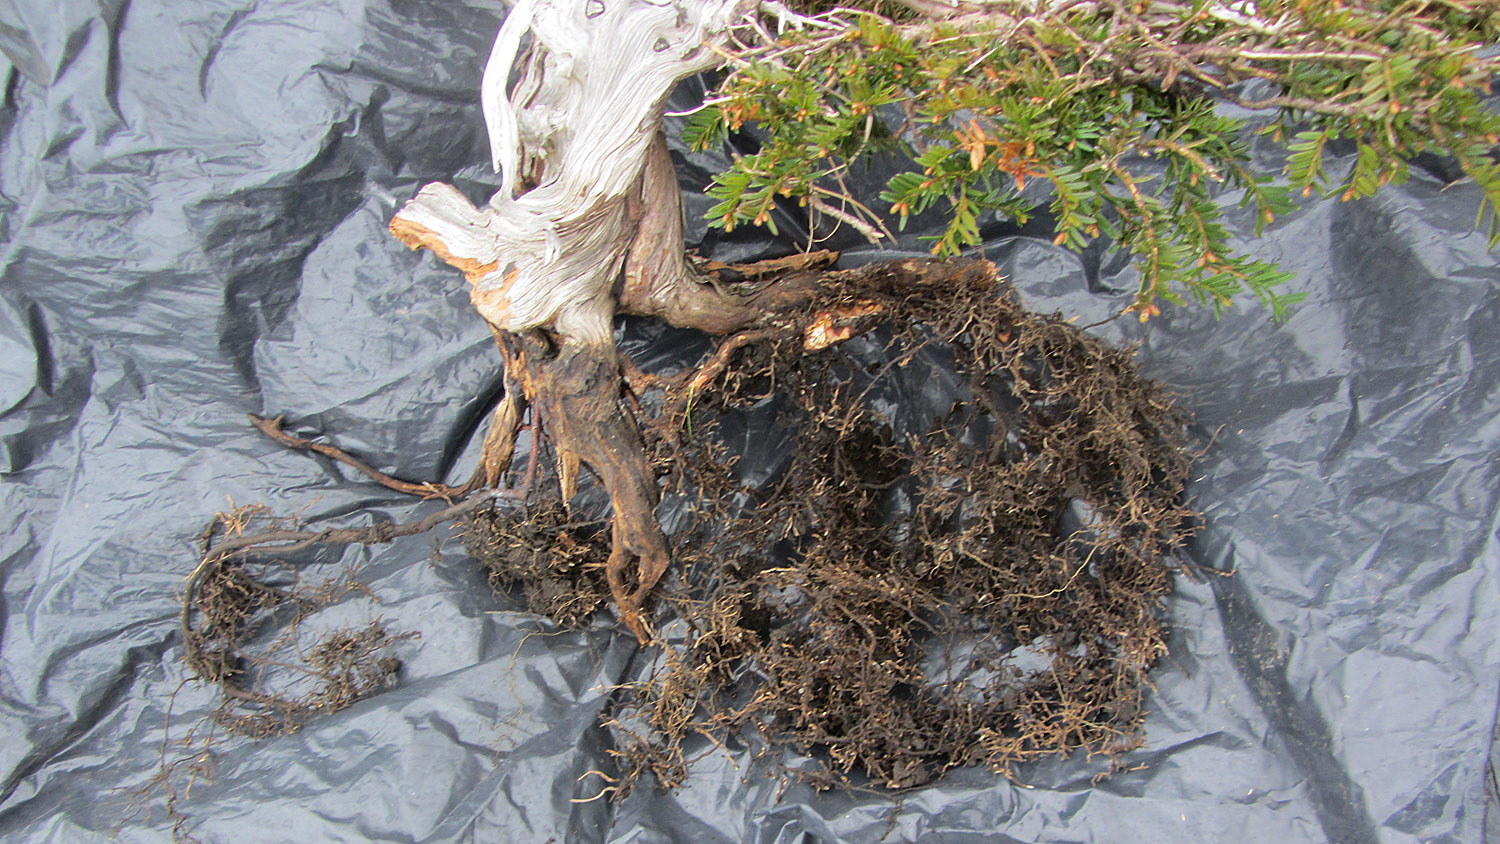
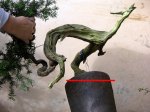
Collected from a rocky outcrop in England this yew was connected to a much larger tree that was collected at the same time by one of my friends. It was planted in a tall wooden box to accommodate the roots… and looked destined to be styled as a cascade.
In the first two years the tree thrived, having been planted in a very open soil mix of 30% Acadama / 30% sharp grit / 30% Biosorb /10% chopped Sphagnum Moss it made great progress.
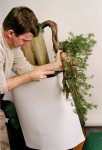
 In 2000 the first styling was done as part of an article for Bonsai Focus Magazine, the deadwood was cleaned and the live vein defined. The foliage had its first styling and a virtual image was created in Photoshop, it looked like the style of the tree was established, it was indeed a cascade. The tree was to remain in the box until strong enough to be transplanted all it required was foliage to mature and placing in it final pot. There was a problem concerning the symmetry of the deadwood, it had the same shape as a milk maids ‘Yoke’ however this would be eventually hidden by the foliage clouds.
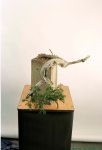
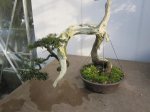
The box containing the Yew started to disintegrate; it was time to pot the tree in its final pot but on revealing the roots a substantial section of the trunk that was buried became evident; it had great movement but was not considered in the original design. The decision was easy; I will redesign the tree to accommodate the newly discovered hidden beauty. The tree was planted in a rather nice Gordon Duffet pot I had standing around, it just fitted the roots comfortably this was never going to be the final planting angle or pot… it was a stopgap until I decided what to do.
So now I had a dilemma… the original style was simply not working and another design had to be considered, but it would need a year or two to fully recover and develop more foliage. Over these two years I studied the tree in great detail, turning, tilting, reversing the direction of the foliage, nothing worked… this was a difficult tree… despite the fantastic curves and twists it was proving to be an IMPOSSIBLE tree.
 That fundamental change in 2004 was to cut the live vein away from the deadwood in the upper section of the tree…bringing the foliage pad closer to the ‘action’ and removing the ‘yoke’ shape forever. The removal of the deadwood and bending of the live vein took about two hours work, the whole area was wrapped in sphagnum moss and left for a year to set and the foliage to develop.
Even after the bend had set the design was not established… it’s just that I had a better chance of creating a satisfactory design. What became apparent was that the deadwood was simply too ‘heavy’ and required refining to reflect the sinuous flow of the trunk, even the very best Yamadori may require major work to bring out the very best in the material.
The first styling of the tree took place in April 2005 at one of my Burrs Bonsai workshops, this was to set the tree on the final stages of the design, once the main branches we placed and the trunk line established, the ramification and maturing of the foliage began.
When working on such a fine small tree attention to detail is important, the natural deadwood has an easy flow and rhythm, any intervention (carving) had to be in sympathy with the existing deadwood. In 2007 removing the bulk of the deadwood was done with the new Beaver 3.1 tool from Portugal, supplemented with the finer Beaver 1.1, the mass of deadwood was punctuated with two major holes and channels to reflect the harsh life the tree had prior to collecting from the wild, finishing was with a very stiff wire brush hand tool. I would normally sand blast the deadwood to create an even more ‘natural’ finish however this tree had undergone enough ‘radical’ work and I was very happy with the result from the Beaver and wire brush.
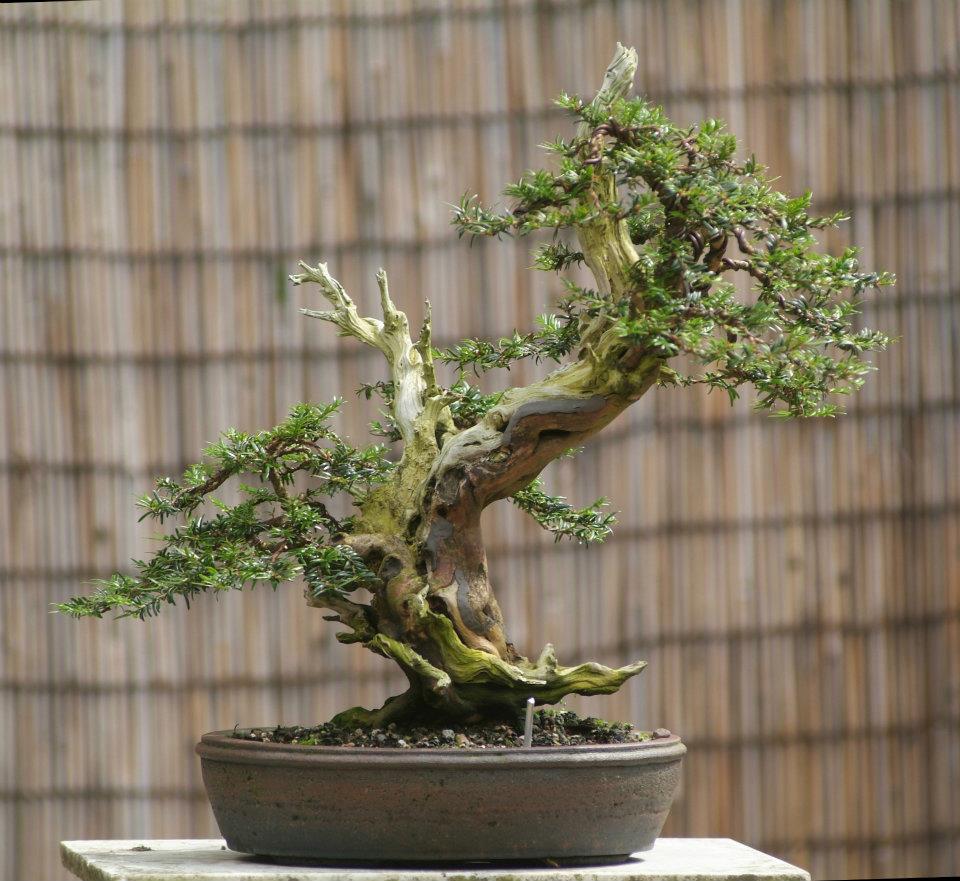
 The final styling came in February 2008, the creation of three foliage ‘clouds’ that were placed close to the trunk gave the bonsai depth, the sinuous movement of the tree could now be fully enjoyed so the final potting could take place. A nicely understated Ian Baillie drum pot in deep red was chosen; this provided a solid visual base to the bonsai. Potting the tree in the desired position proved challenging as the tree had no nebari, the stability was created by introducing a character stone and drilling a small hole through the tree and wiring it directly to the stone. This worked remarkably well affording the tree a solid fix in the pot.
The foliage now needs to fill out and the overall image mature, over the next few years this difficult little tree will develop into a lovely unusual bonsai. Far from the field grown, mass produced imports this bonsai stands apart. When visiting my garden in 2008 Sando Segneri loved the tree comparing it to the brush strokes on a Japanese Scroll, and as fate would have it in a single stroke the bonsai was named ‘The Calligrapher’
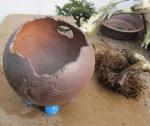
Two years ago I planted the tree in the spherical pot by Isabelia and this is the final image.
53.648787
-2.318486


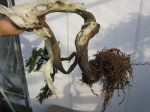
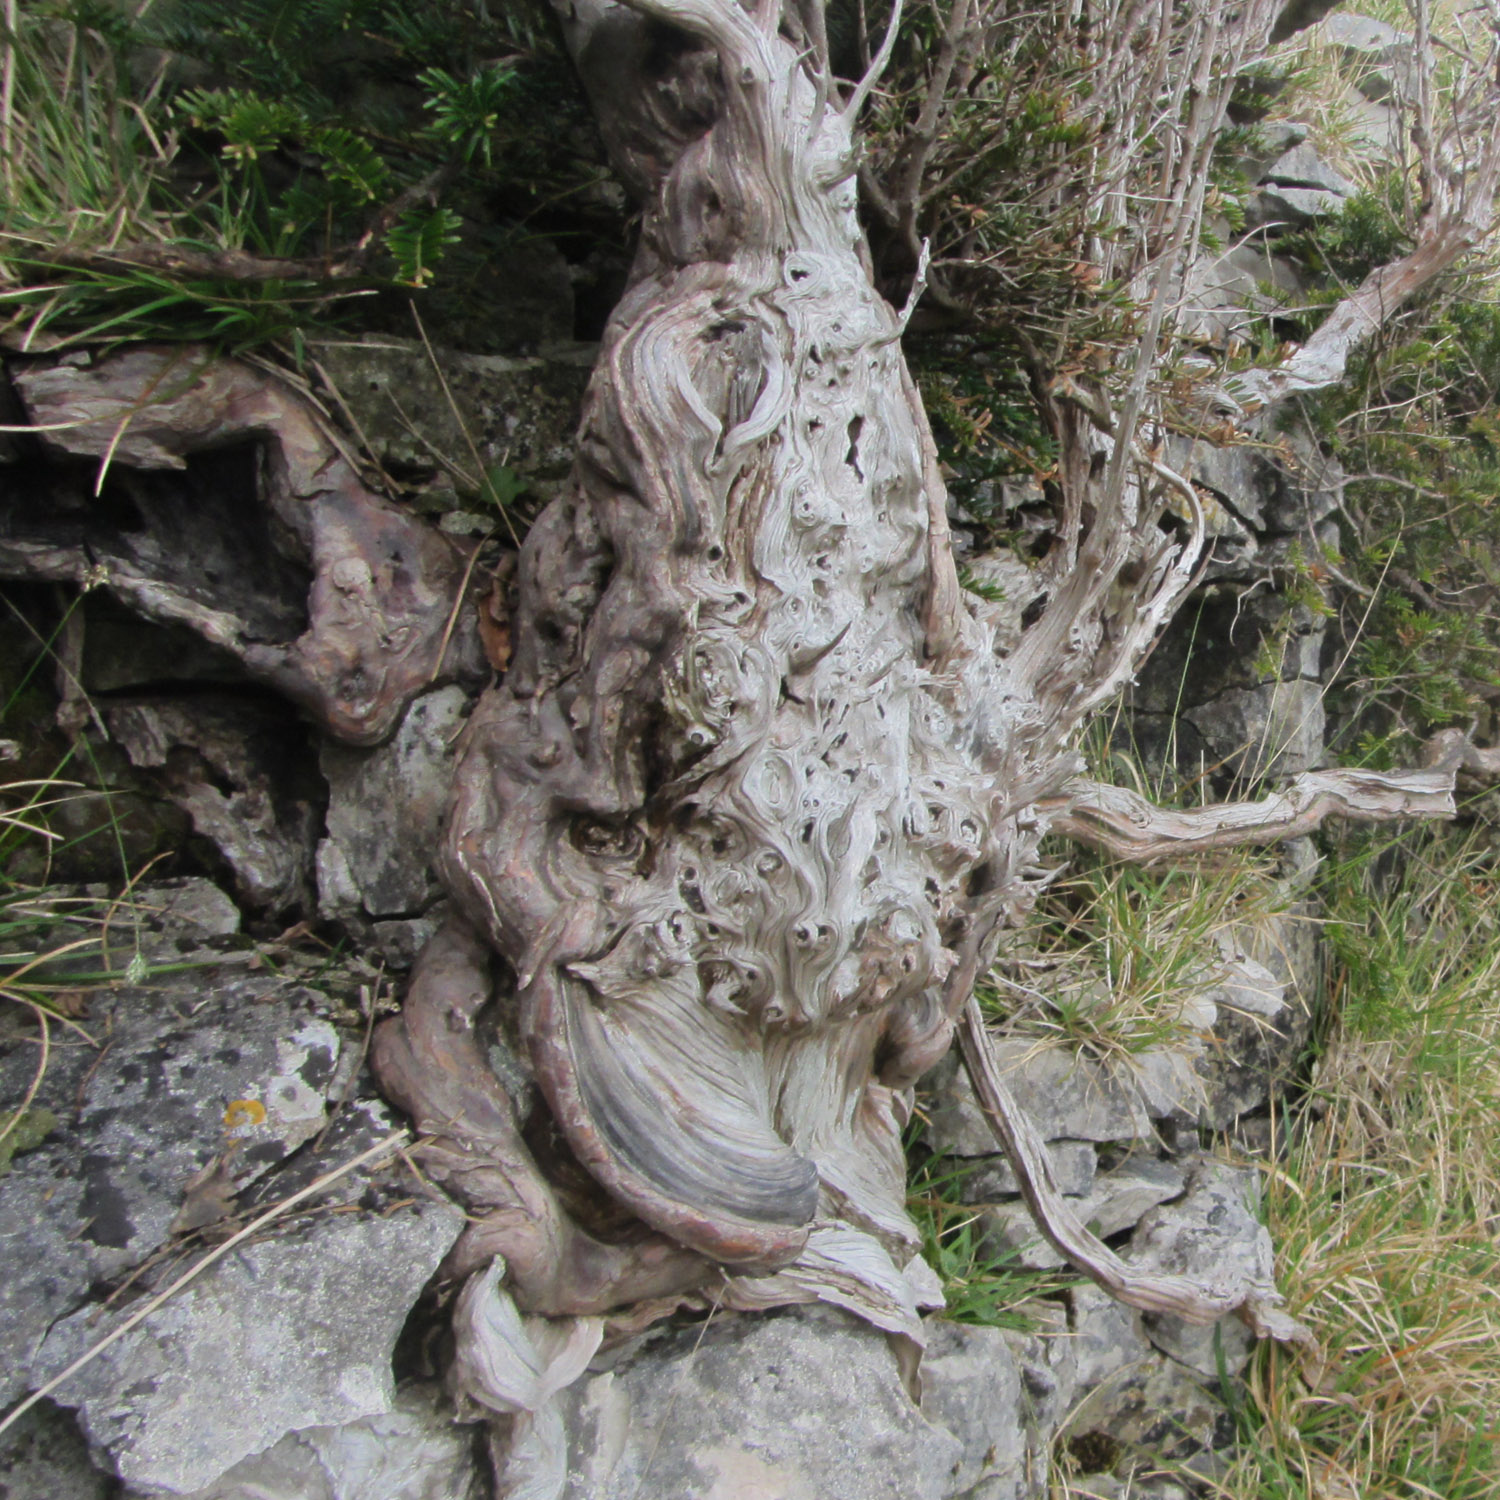 Over the last 25 years I have collected many amazing Yamadori, in all that time I have NEVER discovered a tree quite like this Taxus Bacatta that was growing half way down a limestone cliff. The amazing deadwood and twisting live vein gave the tree an incredible ancient presence.